
PRO PAINTING BLOG
Recent Updates
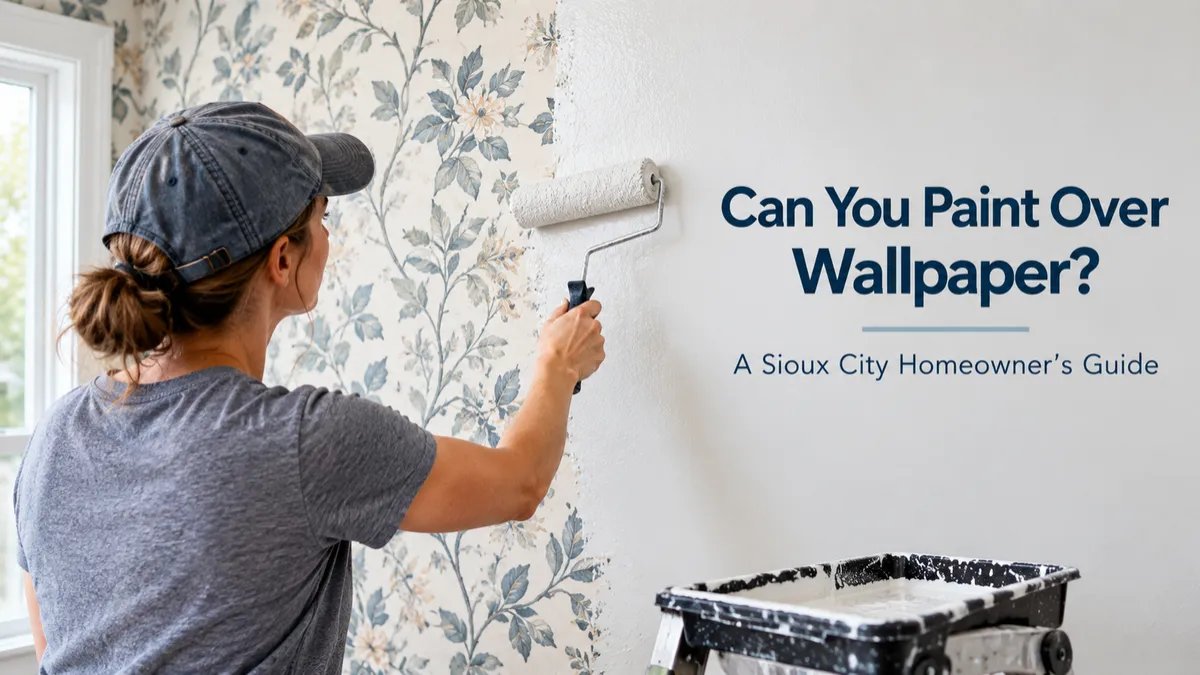
Can You Paint Over Wallpaper? Sioux City Homeowner Guide
You’ve just moved into a home with dated wallpaper, or you’re finally tired of the floral border in the dining room. The big question: can you paint right over it and skip the hassle of removal?
The short answer is sometimes, but not always. Painting over wallpaper can work in the right conditions, and it can also go badly wrong, with peeling, bubbling, and visible seams that ruin the new finish. This guide explains when it’s okay, when you should remove wallpaper before painting, and how to get a smooth, lasting result. If you’d rather have a professional take a look, you can request a free estimate from Sioux City Pro Painting.
The Short Answer: It Depends on Your Wallpaper
Whether painting over wallpaper will work depends on four things: the type of wallpaper, its condition, how well it’s stuck to the wall, and the room it’s in. A tight, smooth, well-adhered wallpaper in a dry room is a reasonable candidate. A loose, textured, or layered wallpaper in a kitchen or bath is not.
Even when it can be done, painting over wallpaper is usually a compromise. Removal gives you the cleanest, longest-lasting result, while painting over it can be a good shortcut in the right situation.
When Painting Over Wallpaper Can Work
You may be able to paint over wallpaper if all of these are true:
It’s firmly attached. Seams and corners are flat, with no lifting, curling, or bubbles.
The surface is smooth. Flat or lightly textured paper works better than heavily embossed patterns.
It’s a single layer. Multiple layers add weight and are more likely to fail.
The room is dry. Living rooms, bedrooms, and hallways are safer bets than bathrooms and kitchens.
The pattern is light or low-contrast. Bold dark patterns and metallic inks can show through.
If your wallpaper checks all these boxes, a good seam repair, the right primer, and quality paint can give you a clean result. Skipping the primer is the most common mistake, and it’s the one that most often leads to peeling.
When You Should Remove Wallpaper Before Painting
In many Sioux City homes, especially older ones, removal is the better option. Take the wallpaper off first if you notice any of the following:
Peeling seams or corners: Painting won’t hold them down, and they’ll lift again.
Bubbles or loose sections: These indicate the paper is no longer bonded to the wall.
Heavy texture or embossing: The pattern will show right through the paint.
Vinyl, foil, or grasscloth coverings: These are tricky to prime and bond with, and grasscloth can bleed stains.
Multiple layers: Layered wallpaper is much more likely to peel under the weight and moisture of paint.
Moisture-prone rooms: Steam from showers and cooking can loosen adhesive over time.
Water stains or mold: The wall behind the paper has a problem that needs attention first.
Our interior painting team can assess the walls and recommend whether to remove or paint over, so you don’t have to guess.
The Risks of Painting Over Wallpaper
Painting over wallpaper can seem like an easy shortcut, but it can create problems that are harder to fix than the original wallpaper:
Peeling and bubbling: Water-based paint can soften the wallpaper adhesive, causing the paper to loosen and blister as it dries.
Visible seams and patterns: Edges and textures often telegraph through, especially under side lighting.
Ink or stain bleed-through: Some inks and stains bleed into the new paint without a proper sealing primer.
Harder removal later: Painted wallpaper is significantly more difficult to take off, because the paint seals the paper and keeps water and removal solutions from soaking in.
If you plan to sell the house or may redecorate again soon, that last point is worth keeping in mind.
How to Test Before You Commit
A few simple checks can help you decide:
Check the seams. Gently press along edges and corners. If any lift, curl, or feel loose, removal is the safer path.
Tap and feel for bubbles. Hollow sounds or soft spots mean the paper has lost its bond.
Identify the type. Peel a tiny corner in an inconspicuous spot. Paper that peels off in layers or sheets can be dry-stripped, while vinyl-coated paper has a plastic-like top layer.
Do a test patch. Prime and paint a small area in a closet or behind furniture. Let it dry fully and look for bubbling, lifting, or bleed-through.
Not Sure What’s Under Your Wallpaper? Sioux City Pro Painting looks at your walls, explains the prep they need, and gives you a clear estimate, usually within 24 hours. |
How to Paint Over Wallpaper the Right Way
If your wallpaper passes the tests, here’s the process that gives the best chance of success:
Clean the surface. Remove dust, grease, and grime so primer can grip.
Re-glue loose edges. Use wallpaper seam adhesive on any lifting areas and let it dry.
Fill and smooth seams. Apply a thin layer of joint compound over seams and edges, then sand them flush.
Prime with the right product. An oil-based or specialty sealing primer made for wallpaper helps prevent moisture from reaching the adhesive and stops bleed-through. Check the product label for compatibility.
Consider skim coating. For textured or patterned paper, a skim coat of joint compound can create a smooth surface for paint.
Paint in thin, even coats. Heavy, wet coats are more likely to soak the paper. Let each coat dry fully.
This is where the preparation work matters most. Our process of inspection, preparation, application, and cleanup, covered in how we approach every project, is built around getting these steps right.
How to Remove Wallpaper Before Painting
When removal is the right call, the method depends on the paper type:
Strippable (peelable) wallpaper: Often pulls off dry in full sheets, starting at a seam.
Traditional paper: Score the surface lightly, apply warm water or a removal solution, let it soak, then scrape gently.
Vinyl wallpaper: Peel off the vinyl top layer, then soak and remove the paper backing that remains.
Stubborn or layered paper: A wallpaper steamer can help loosen adhesive, but steam and water need to be used carefully to avoid damaging the wall.
Once the paper is off, the real work begins. Leftover adhesive must be washed off completely, because paint won’t stick well to residue. Let the wall dry fully before moving on.
Repair the Wall After Wallpaper Is Gone
Wallpaper removal often leaves the wall in rough shape. It’s common to find torn drywall paper, gouges, leftover glue, and old patches. These need repair before painting. Walls should be cleaned, sealed or primed where the surface is torn, patched, sanded smooth, and primed again before the finish coat.
For more detail on common wall problems and how they’re fixed, read our guide on drywall repair before painting. If you’re dealing with plaster walls in an older home, our tips on painting older homes cover what to watch for.
Older Sioux City Homes: Extra Things to Know
Many older homes have decades of wallpaper layers over plaster walls. That combination can be tricky. Plaster can be damaged by too much water, and layers of paper and paint can hide cracks or loose areas.
If your home was built before 1978, remember that paint underneath wallpaper may contain lead. Avoid dry sanding or aggressive scraping of unknown paint layers, and use lead-safe practices when disturbing surfaces. If you’re unsure, get the paint tested or ask a professional how they handle older homes.
DIY or Professional? How to Decide
You might handle it yourself if
It’s a small area, such as a single accent wall or powder room
The wallpaper is strippable and comes off easily
The wall underneath is in good shape
Consider hiring a professional if
Wallpaper covers multiple rooms, high walls, or stairwells
The paper is layered, vinyl, or won’t come off cleanly
The wall is torn up after removal and needs patching and smoothing
You want a smooth, high-quality finish that lasts
Hiring one team to handle prep and painting also avoids gaps between steps and gives you a consistent finish. If you’re planning wallpaper removal along with painting, ask about it during your estimate so the scope and prep are clearly outlined.
Quick Checklist: Paint Over It or Remove It?
What You See | Best Move |
|---|---|
Tight, smooth, single-layer paper in a dry room | Painting over may work with seam repair and the right primer. |
Peeling seams or bubbles | Remove it first. |
Heavy texture or embossing | Remove it, or skim coat for a smooth surface. |
Vinyl, foil, or grasscloth | Remove it, or use specialty primers only after testing. |
Multiple layers | Remove it. |
Kitchen or bathroom walls | Remove it, since moisture can loosen the adhesive. |
Stains, mold, or soft spots | Remove it and fix the underlying problem. |
Home built before 1978 | Use lead-safe practices and avoid dry scraping. |
Final Thoughts
So, can you paint over wallpaper? Yes, in some cases. But for the most dependable, longest-lasting result, removing the wallpaper and properly preparing the wall is usually the better investment. The right choice comes down to the condition of the paper, the room, and how long you want your new finish to last.
Ready to give your walls a fresh start? Explore our interior painting and exterior painting services, see our commercial painting work, browse more tips on the Pro Painting Blog, or contact us today.
Ready to Update Your Walls? Get a free, no-pressure estimate from Sioux City’s trusted painters. We’ll look at your walls, explain what they need, and give you straightforward pricing. |
Frequently Asked Questions About Painting Over Wallpaper
Q: Can you paint directly over wallpaper?
You can in some situations, such as when the paper is smooth, tightly attached, and in good condition. It needs proper seam repair and a quality primer first. Painting over loose, textured, or layered wallpaper often leads to peeling and bubbling.
Q: Do I need to prime wallpaper before painting?
Yes. Primer helps seal the surface, block stains and ink, and keep moisture from reaching the wallpaper adhesive. Look for a primer made for use over wallpaper and follow the label directions.
Q: Is it better to remove wallpaper or paint over it?
Removal typically gives the most reliable, longest-lasting finish, especially for peeling, textured, vinyl, or multi-layer wallpaper. Painting over it can be an acceptable shortcut when the paper is in excellent condition.
Q: Why does paint bubble on wallpaper?
Water-based paint can soften the wallpaper adhesive, causing the paper to loosen and blister as it dries. Using a sealing primer and thin coats can reduce the risk, but it can’t always prevent it.
Q: Can you remove wallpaper after it has been painted?
Yes, but it’s much harder. The paint seals the wallpaper, so water and removal solutions can’t soak in easily. It often requires scoring, extra soaking time, and more scraping, and it can damage the wall.
Q: What should I do with the walls after removing wallpaper?
Wash off all adhesive residue, let the wall dry, repair any damage, sand smooth, and prime before painting. Skipping these steps can cause poor paint adhesion and a rough finish.
Q: Can Sioux City Pro Painting help with wallpaper and wall prep?
We handle surface preparation for interior painting, including patching, sanding, masking, and priming. Request a free estimate or call (712) 217-3200, and we’ll look at your walls and explain what the project needs.
Have More Questions? Our team is happy to talk through your walls and your project before you commit to anything. |

WELCOME
Welcome to our site! We are in the process of building our blog page and will have many interesting articles to share in the coming months. Please stay tuned to this page for information to come. And if you have any questions about our business or want to reach out to us, we would love for you to stop by our contact page.
Thank you!
©2026 Sioux City Pro Painting - All rights reserved
Created by Showcase 712